
The Game Systems editor is where you control every console in your library. You can turn systems on or off, change the order they appear in, and edit every detail of how a system finds and launches its games.
Opening the editor
- Open the Settings category.
- Go to Game Settings.
- Choose Game Systems.
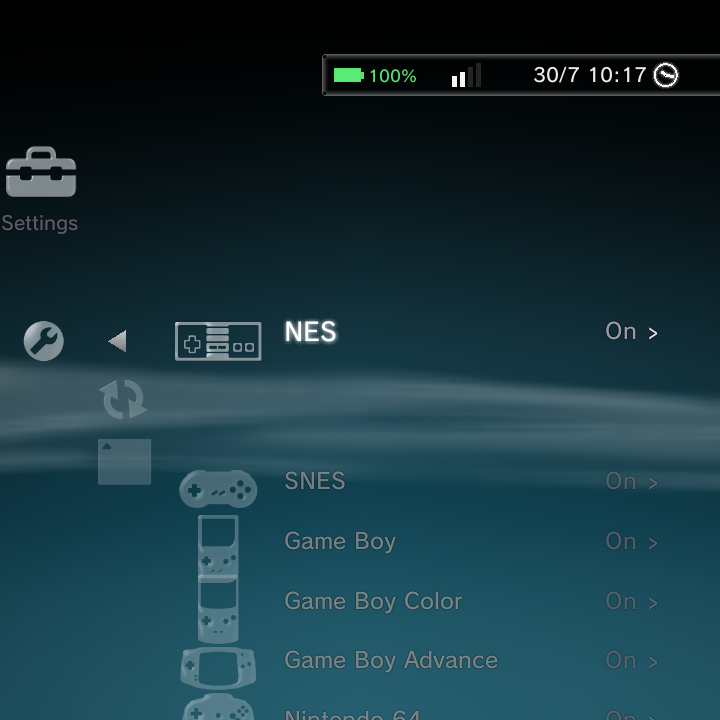
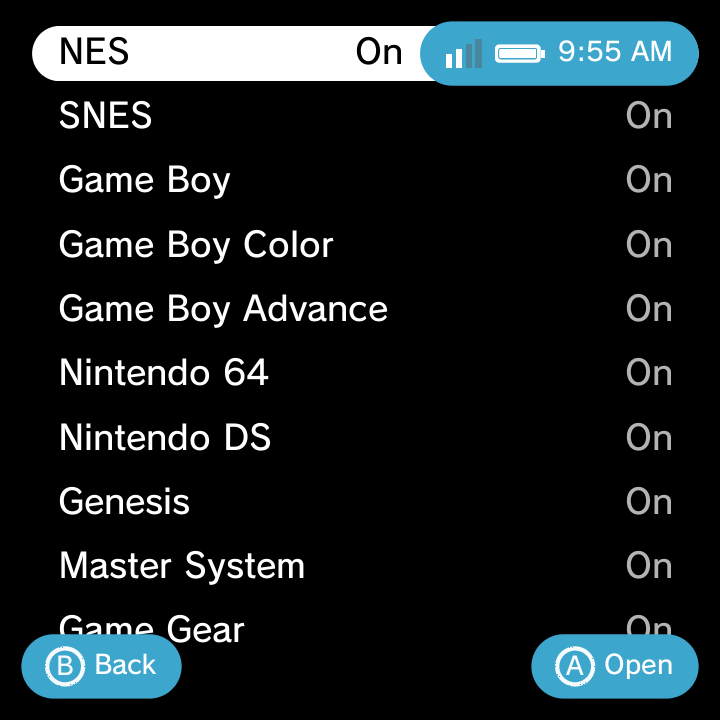
You get a list of every system Nano knows, each with an On/Off toggle. The editor uses your home theme's own look, so it feels native whether you are on XMB or Minima.
Turning systems on and off
Each system has an On/Off toggle. Turn a system Off to hide it from the Game category (handy if you do not own any games for it). Turn it back On whenever you like. Turning a system off does not delete any files.
Reordering systems
To change the order systems appear in on the home screen, highlight a system and press L1 or R1 to move it up or down the list. Put your favourites at the top.
Editing a system
Select any system to open its editor. Every field below can be changed, so you can point a system at a different emulator, add file types, or give it a new icon.
| Field | What it does |
|---|---|
| Display Name | The name shown in your library (for example "PlayStation 2"). |
| Short Name | A brief label (for example "PS2"). |
| Launch Type | Choose Libretro Core (runs inside RetroArch) or Custom Package (runs a standalone emulator app). |
| Emulator | A searchable picker of RetroArch cores or installed apps. Picking one fills in the launch details for you. |
| Core .so | The libretro core file used, when Launch Type is a Libretro Core. |
| Package | The app the game hands off to, when Launch Type is a Custom Package. |
| Intent Template | The launch command Nano sends to a standalone app. Usually filled in for you when you pick the emulator. |
| Launch Args | Extra arguments passed at launch. |
| Extensions | The file types this system scans for, comma-separated (for example iso, chd, gz). |
| Scan Folders | Which folders to search for games. Use the folder picker, or leave the default ROMs/<id>/. |
| Icon | The system's icon. Choose from a grid of built-in icons, or press X in the grid to import your own PNG. See Custom system icons. |
| Icon Tint | Recolour the icon from 21 swatches, or set a custom RGB colour. |
| Scraper / Username / Password | An optional per-system override for the cover-art scraper. See Boxart & Metadata. |
| Scrape This System | Fetch boxart and metadata for every game in this system now. |
| Reset-to-Default | On built-in systems, restore the original settings. |
| Delete | On custom systems, remove the system. |
Built-in systems show Reset-to-Default, and custom systems you created show Delete instead. That way you can always undo your changes to a built-in system, and cleanly remove ones you made yourself.
A quicker way in
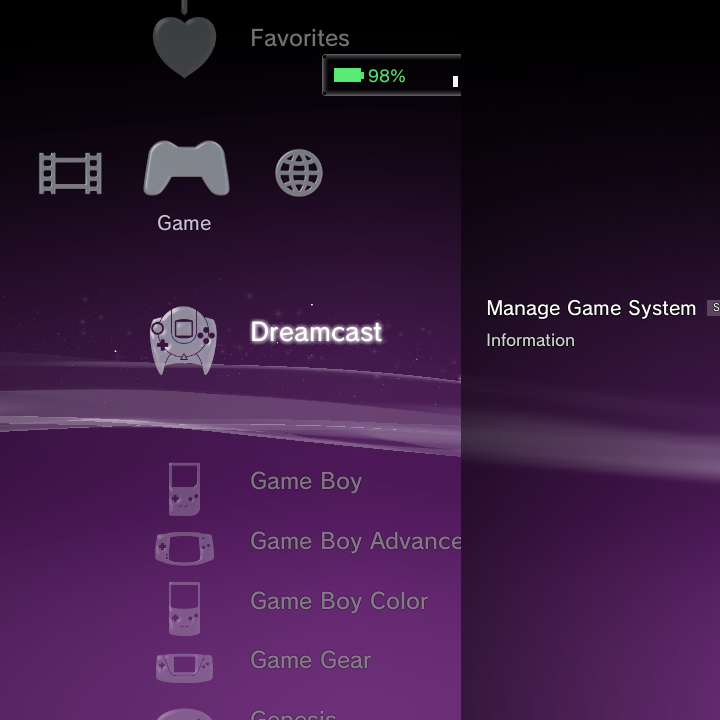
From the Game category, highlight a system row and press the Options button, then choose Manage Game System. That jumps you straight into this editor for that system, without going through Settings. See Context Menus for more shortcuts.
Scan folders and default locations
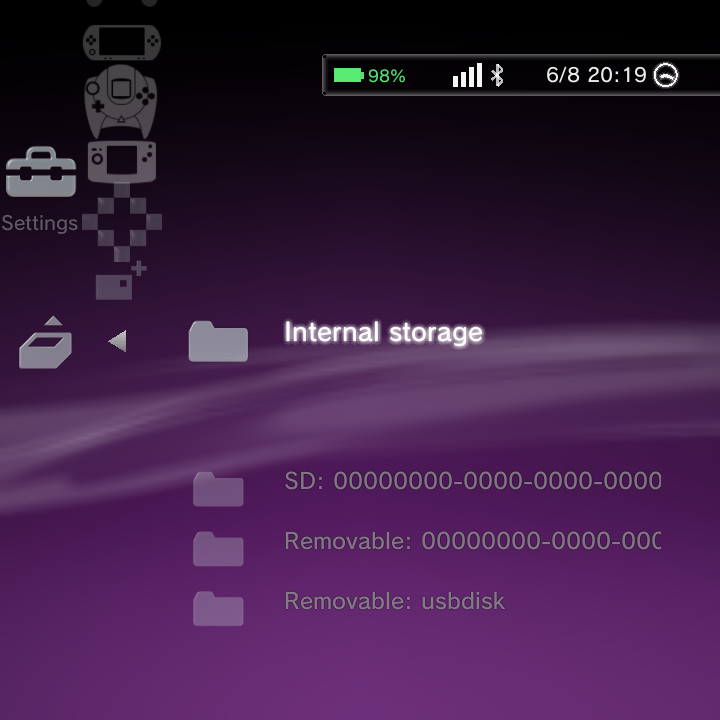
The Scan Folders field lists which folders a system searches for games. It now also shows the built-in default folders (for example ROMs/nes/) with the number of games found in each, so you can see at a glance where to drop your ROMs. A default folder that has no games yet is shown as Default (empty).
When you remove a scan-source folder, Nano first asks you to confirm with a Cancel or Remove Folder dialog that shows the folder path, so you do not drop a source by accident. Removing a folder only stops Nano scanning it; your files are left in place.
Missing-emulator warning
If a system's libretro core or standalone emulator app is not installed, Nano tells you rather than launching into a black screen. When you try to start a game whose core .so or standalone package is missing, a short toast appears explaining what is needed. See Emulators & Cores for which core or app each system uses.
Auto-add whole systems from a folder
At the top of the Game Systems list you can bulk-import an entire ROMs collection in one pass. Choose Auto-add Systems from Folder and point it at your ROMs root (laid out with one folder per system, the ES-DE style).
Nano walks the folders and, for each recognised system, links it to a built-in system or creates a new one for it. Empty folders and media-only folders are skipped. When it finishes it shows a summary of what was added, including any systems that still need an emulator installed to run.
Sorting the Game category (Y)
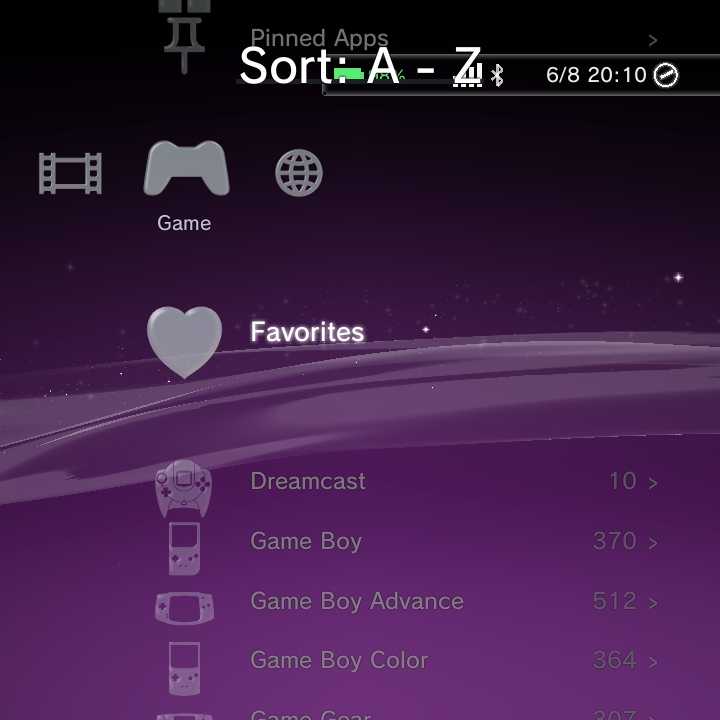
The order systems appear on the home screen is separate from how you sort the tiles on screen. In the Game category, press Y to cycle the tile order: Default, A to Z, Most Games, and By Manufacturer. The choice persists across restarts, and it only changes the on-screen order. It never reorders or touches your actual games or systems.
Adding a whole new system
The editor is also how you add a console Nano does not list yet. Scroll to the top of the Game Systems list, choose Add New System..., and pick your emulator. For a full worked example (adding AetherSX2 for PlayStation 2, step by step), see Add a Custom System.
Custom system icons
Every system has an Icon field in its editor. Selecting it opens the icon grid, a searchable set of hundreds of built-in console and platform glyphs. Press Y to filter by name, highlight the one you want, and press Cross to assign it.
Import your own PNG
If none of the built-in glyphs suit you, you can bring your own image:
- Open the system's Icon field to show the icon grid.
- Press X (Import PNG). A file browser opens at your storage.
- Browse to your image and select it. Nano copies it into its own storage and sets it as the system's icon straight away.
Your file is copied, so you can delete the original afterwards and the icon still works. If you later delete the custom system, its imported icon is cleaned up with it.
Icon requirements
- Format: PNG (recommended) or JPG. PNG is preferred because it keeps transparency.
- Shape: square. A non-square image is stretched to fit, so trim it to 1:1 first.
- Size: at least 8x8 pixels. Around 256x256 is a good target; anything larger is just scaled down and wastes space.
- Transparency: use a transparent background (PNG) so only your artwork shows, not a solid block behind it.
- Colour: the built-in glyphs are single-colour and respond to the Icon Tint setting. A full-colour PNG is shown as-is, untinted, so if you want the tint swatches to affect your icon, supply a white or light silhouette on a transparent background.
Interim method over ADB (older builds)
If your build does not yet have the in-menu Import PNG button, you can set a custom icon by hand over ADB. Nano reads its systems from /data/system/nano_systems.json and accepts a file: icon reference that points at any image on the device.
- Copy your PNG into Nano's icon folder (create it if needed), naming it after the system's id:
adb shell mkdir -p /data/system/nano_user_icons
   adb push myicon.png /data/system/nano_user_icons/<system-id>.png
- Pull the systems file, edit it, and push it back:
adb pull /data/system/nano_systems.json .
Find your system in the JSON and set its icon ref to the file path:
"icon": { "ref": "file:/data/system/nano_user_icons/<system-id>.png", "tintR": 1, "tintG": 1, "tintB": 1 }
adb push nano_systems.json /data/system/nano_systems.json
- Reboot, or restart Nano, so the new config is read.
The <system-id> is the id value shown next to each system in the same JSON file. Do not drop your PNG into /system/ (it is read-only), and avoid the /data/system/nano_xmb/icons_retroarch/ override folder: putting files there makes the icon grid show only that folder and hides all the built-in glyphs.
Related pages
- Adding Games for where to put your ROM files.
- Add a Custom System for a complete walkthrough.
- Boxart & Metadata for cover art and game info.